Light Gunsmithing
Final Fitting of Recoil Pads
column By: Gil Sengel | January, 17
First, however, one other type of recoil pad installation must be mentioned, the so-called “pre-fit pad.” As the name implies, this pad is supposed to fit the stock with no grinding needed. My understanding is that pre-fit recoil pads are only intended to replace factory installed pads on certain guns with stocks either made in moulds or finished on computer controlled machines. Unfortunately, I can’t comment further, never having installed a pre-fit pad or even had anybody ask about one.
There is only one way to remove the excess material from a recoil pad or the thinner rifle pad. That is by the use of abrasive paper moving at a high rate of speed. No handheld sander is suitable. Anyone who spends time looking over used guns having refinished stocks will notice that recoil pads often appear rough, rippled or smeared, as if they had been hot. There may be flat spots on the pad’s sides, and it isn’t symmetrical when viewed from the rear. All this indicates the refinisher tried to cut down the pad using an electric sander.
My equipment consists of nothing more than an 8-inch sanding disk on a common 1,700 to 1,800-rpm bench grinder. The disk
Of course, sanding disks are available in several grit sizes. It is extremely important not to pick a grit size that is too small. On the coarse end of the scale are 60, 80, 100 and 120 grits. Number 60 will cut the soft material of most pads well, but it can leave scratches on the base material that are hard to remove. Both 80 and 100 grit cut almost as well, with 80 grit better on the softer pads. Number 100 leaves much shallower marks on the base material. In my opinion, 120 grit doesn’t cut fast enough and can overheat the pad.
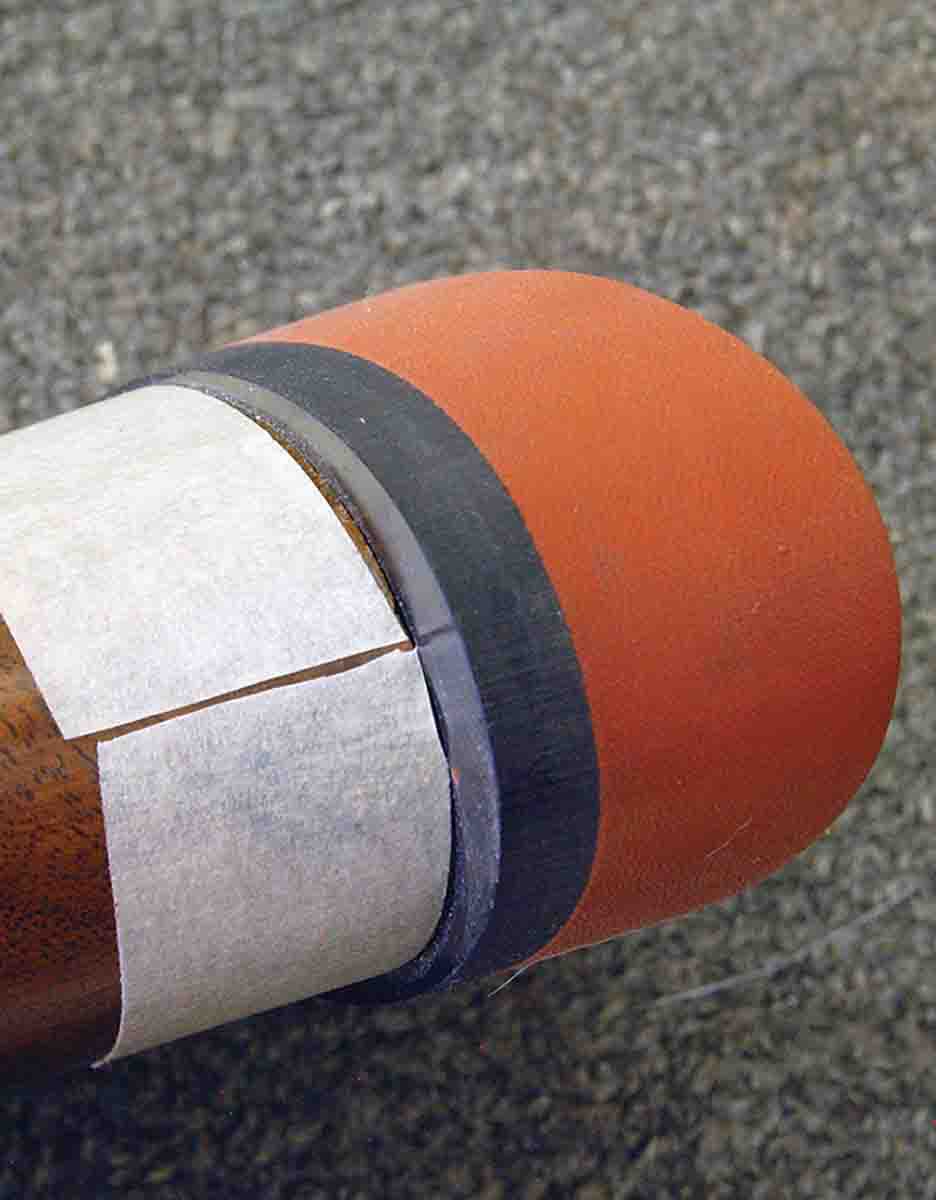
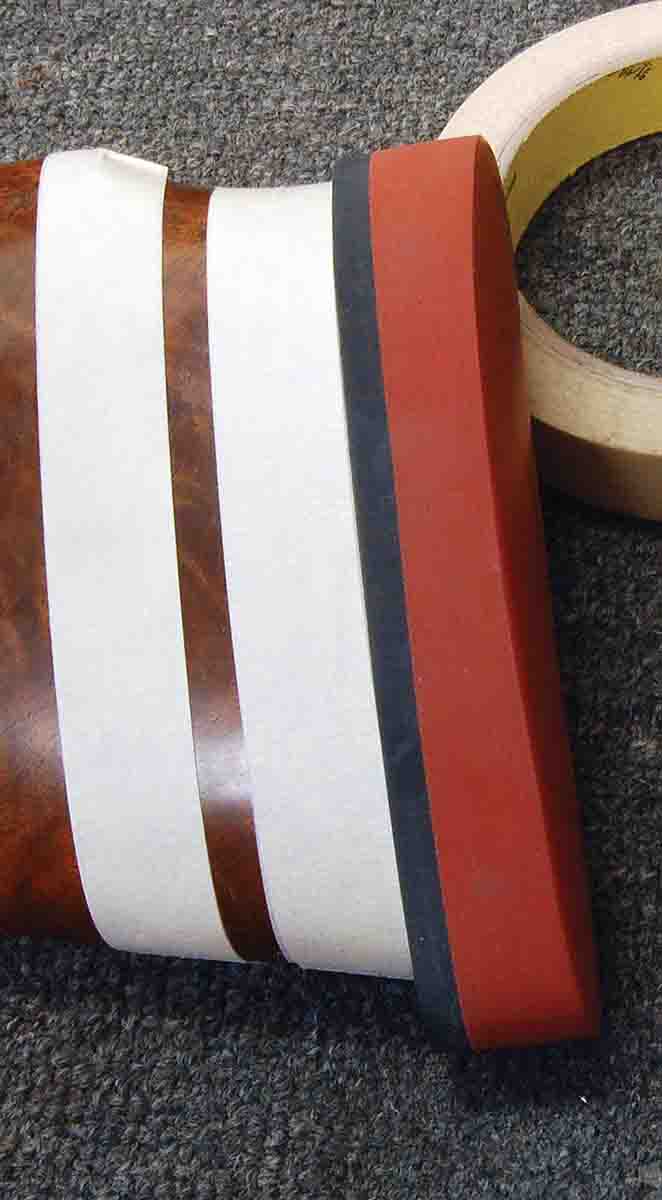
Before turning on the grinder, it’s necessary to try to protect the stock from accidental sanding. This is done by placing two bands of masking tape on the stock as shown in the photos. (As experience is gained, the outermost band can be deleted.) Masking tape must be used because only it will show the faintest touch of the sanding disk and not stretch, tear or pull off. Each tape band is two layers thick. The tape must also lay
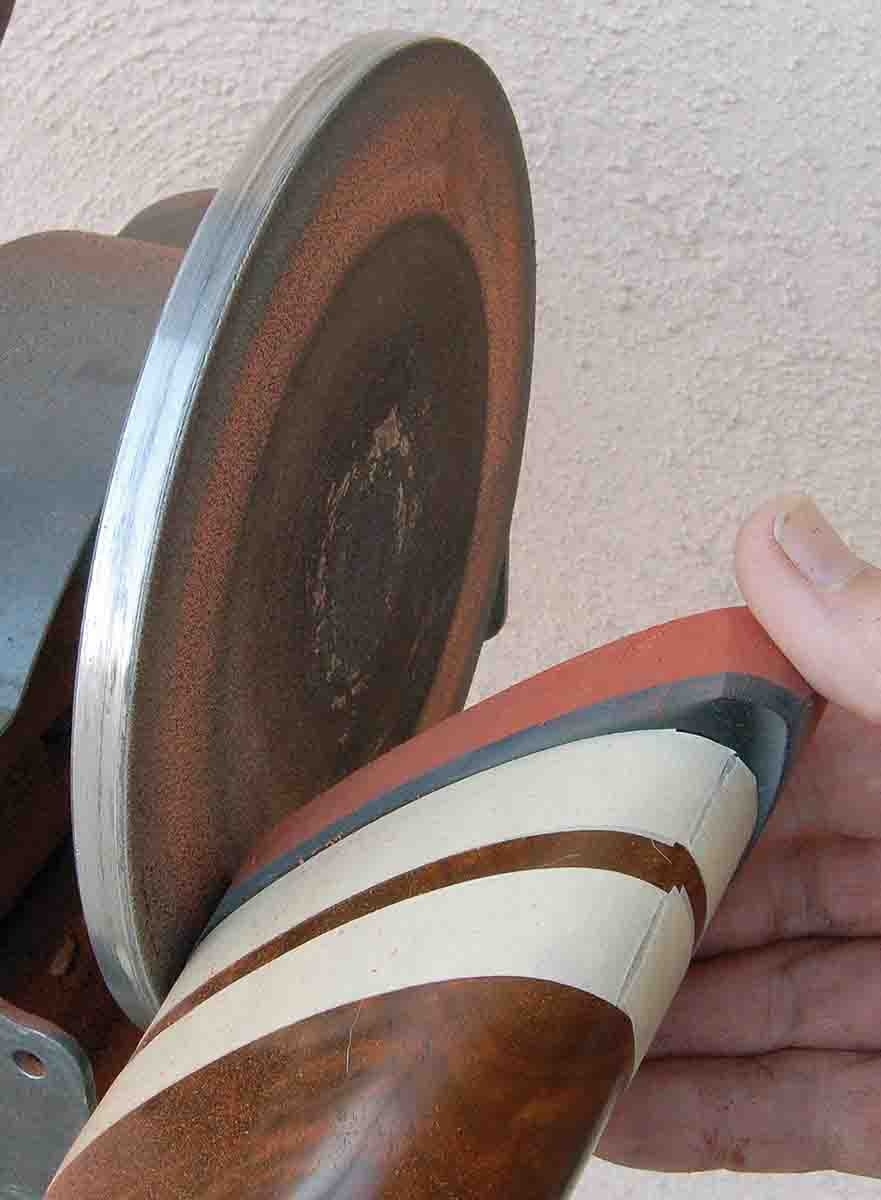
Begin grinding the pad by lining up the flat sanding disk with the surface of the stock. All surfaces must extend from the stock out over the pad in a straight line, just as if no recoil pad was there. For most people it is easiest to hold the pistol grip area of the stock in the left hand and the recoil pad end in the right. Sanding is then done on the left half of the disk from the 8 o’clock to the 10 o’clock position. This is done because the disk is turning counterclockwise, so the left half is turning down. It is not possible to cut recoil pads on the side turning upward as the disk will “grab” the soft pad material. Also, sanding dust would be thrown in the operator’s face. Grind the surface of the pad down to about 1⁄16 inch above the tape all the way around. Take whatever time is needed to be certain all sanded surfaces are straight.
About now one will realize that it is not a good idea to install the first few pads on mint condition Holland & Holland double rifles! Old Remington 870s or 700s are better. In fact, the best idea is to buy a junk military stock and a couple of old recoil pads for a few dollars at a gun show. Cut off the stock, install a pad and grind away. Most folks learn the required “touch” quickly. The secret, if there is one, is simply not to hurry.
At any rate, removing the last little bit of pad material down to the tape requires the most care. Sand in the same manner as
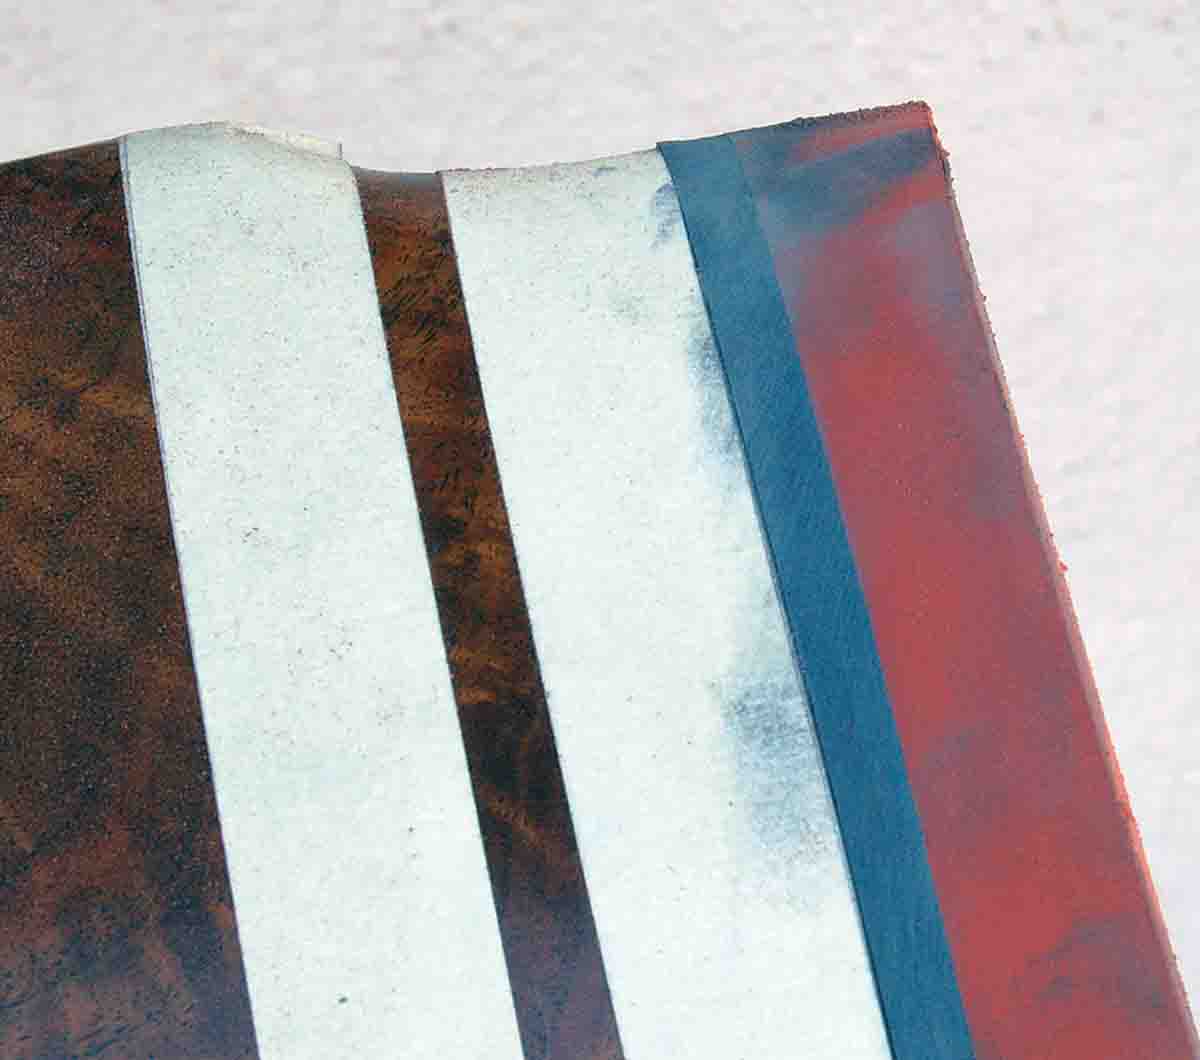
Some pad/abrasive combinations will cause chattering when the light, final cutting is done on the heel and toe; excessively high disk speed is the cause. I simply turn off the grinder if this occurs and let it spool down until the chatter stops, then continue grinding. It is necessary to turn the machine on and off a few times to get the cutting done, but this hurts nothing.
After the surface is cut down to the tape all the way around, remove the outermost band of tape and the top layer of the band touching the recoil pad. There now is .005 inch of tape on the stock with pad base material about .005 inch above this, depending upon how steady your hand was. There will be abrasive marks in the base material so it is cut down to the remaining tape surface using 320 grit paper backed by a file. When complete, rub the
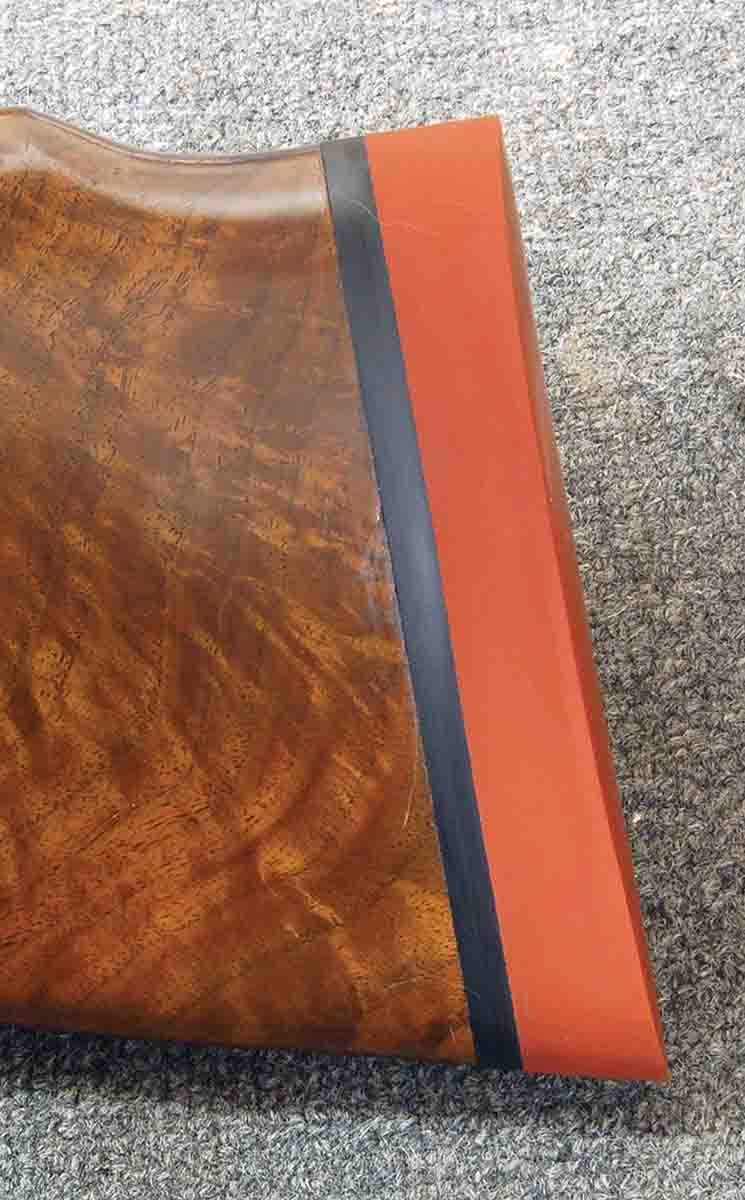
When the final layer of tape is removed, the pad base material obviously rises above the surface of the stock by .005 inch. If you are sensitive to this, backing the pad off the stock .5 inch or so and lightly touching the edge with the 320 grit takes off the sharpness. Wiping the pad with mineral spirits now makes it shine like a new penny.
Hopefully the foregoing will both help and encourage those interested in doing a superior recoil pad installation. For others, it illustrates that a good job takes time, so gunsmiths must price the work accordingly.


