Light Gunsmithing
Quackenbush Safety Cartridge Rifle
column By: Gil Sengel | March, 25
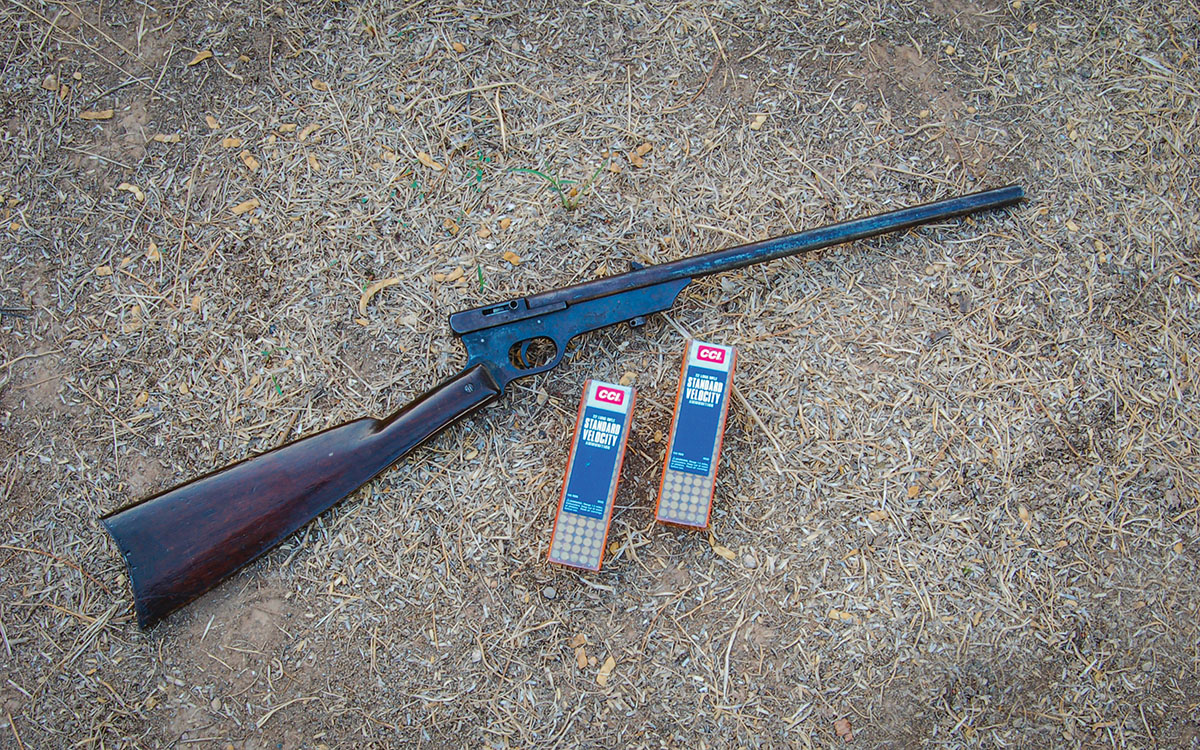
The Quackenbush is instantly recognizable by its unique silhouette and strange receiver design. Any time one is seen on a gun show table, it attracts riflefolk who simply have to pick it up. The proper name is Quackenbush Safety Cartridge Rifle. The chronicles tell us it was made by H.M. Quackenbush of Herkimer, New York, beginning in the mid-1880s. Production stopped about 1900, although the company continued to make air guns until World War I.
Quackenbush made two other cartridge rifles as well, both using the Safety Cartridge Rifle action. One was called the Junior Safety Rifle. It had an 18-inch barrel and a stock made of steel rod bent in the shape of a buttstock similar to Steven’s break-open pistols of the time. The second gun was the New Bicycle Rifle or Pocket Rifle. It had a 12-inch barrel and a collapsible L-shaped stock like that seen on submachine guns.
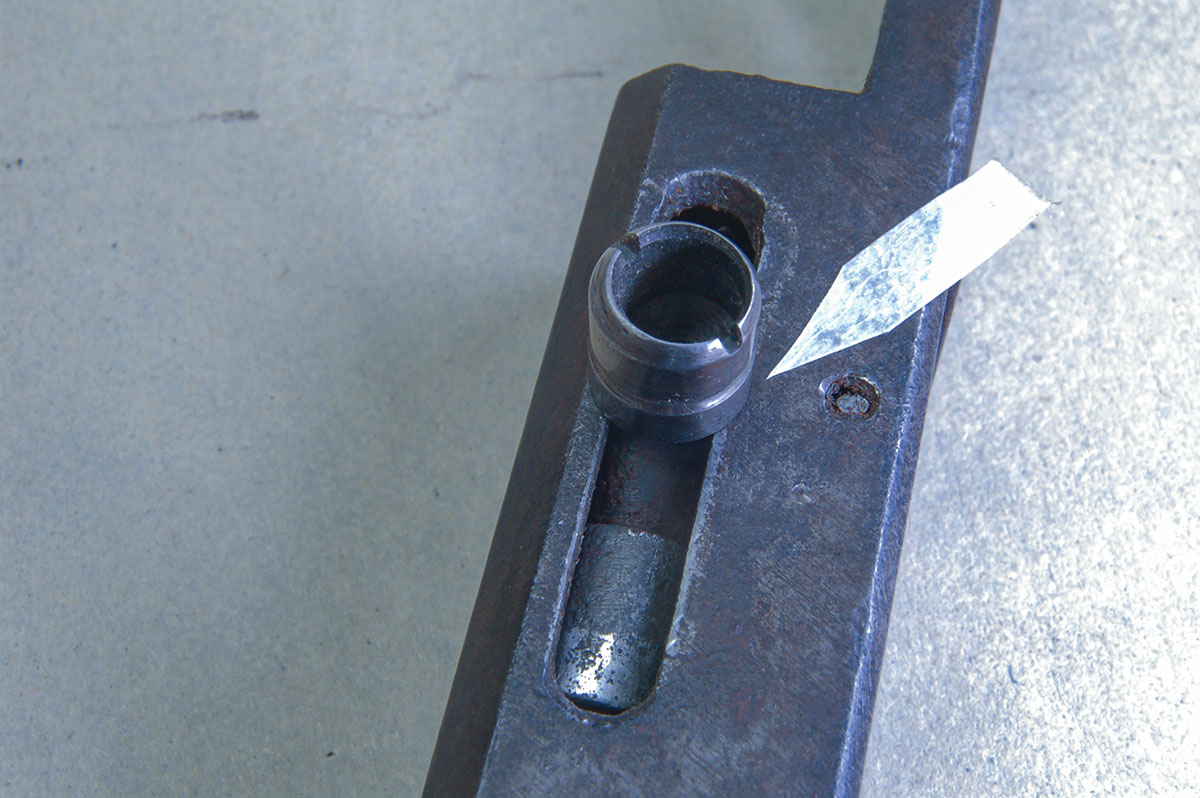
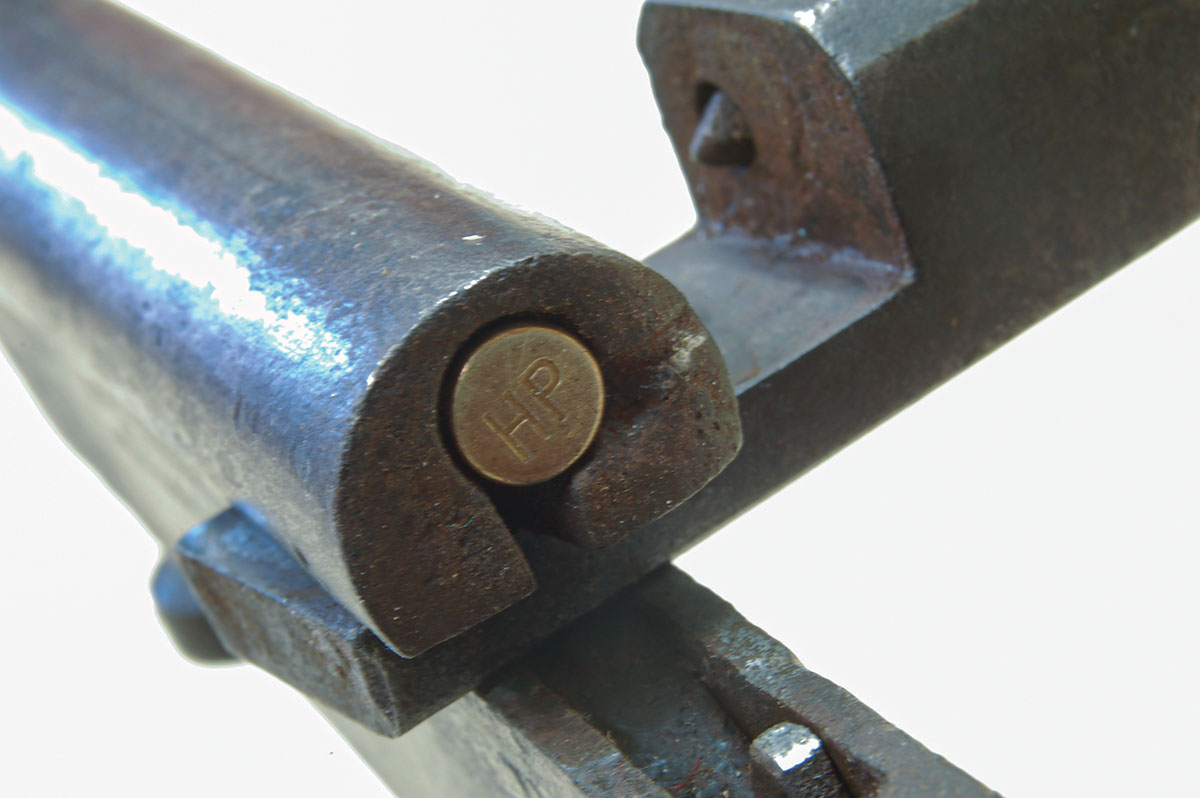
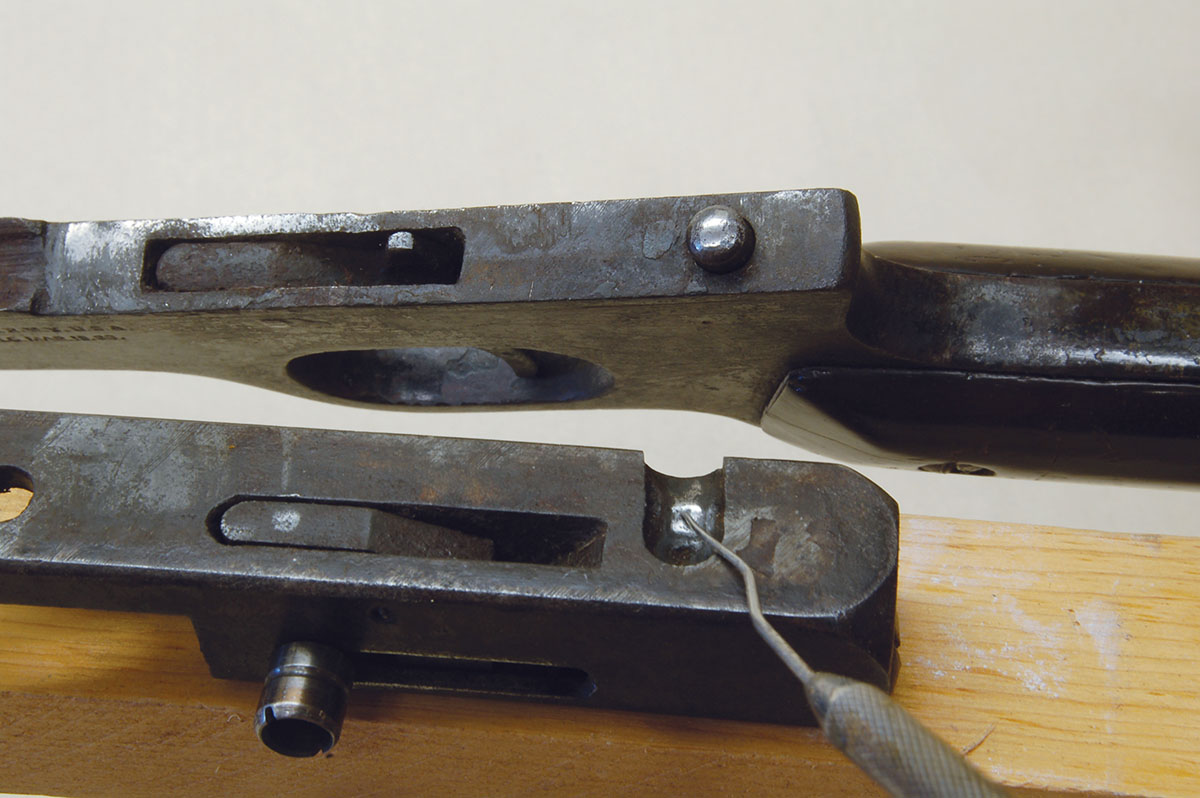
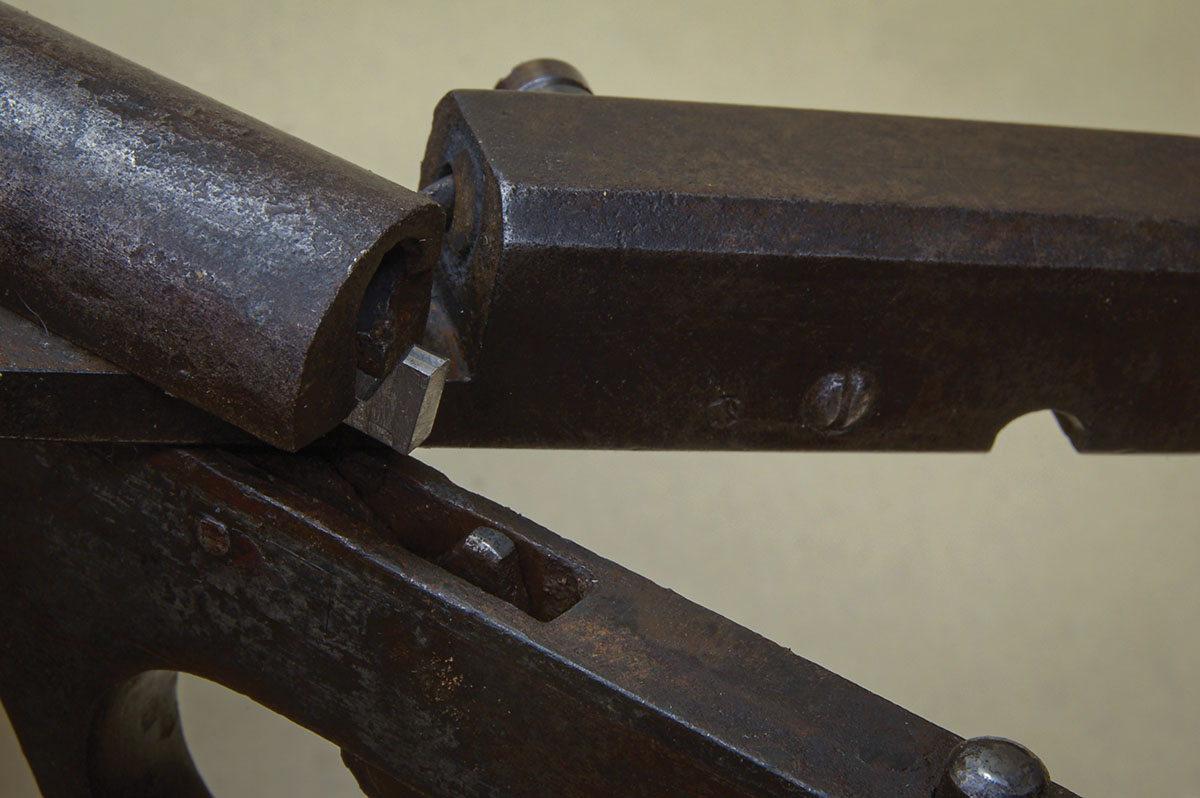
As the photos show, the action is unique in that the breechblock is held closed by a spring-loaded plunger and pivots to the right to open. The pivot point is a .250-inch diameter pin machined integral with the barrel. At first glance, this appears impossible because the barrel is milled away for nearly one-half its diameter. A closer look, however, shows the outside surface of the barrel has been turned off-center to the bore.
The rim recess of the chamber misses the outside of the barrel by only .080 inch at the twelve o’clock position.
The effect of the off-center bore causes the gun to group its shots very low. The muzzle must be raised to correct this, which requires a very low front sight. The factory sight
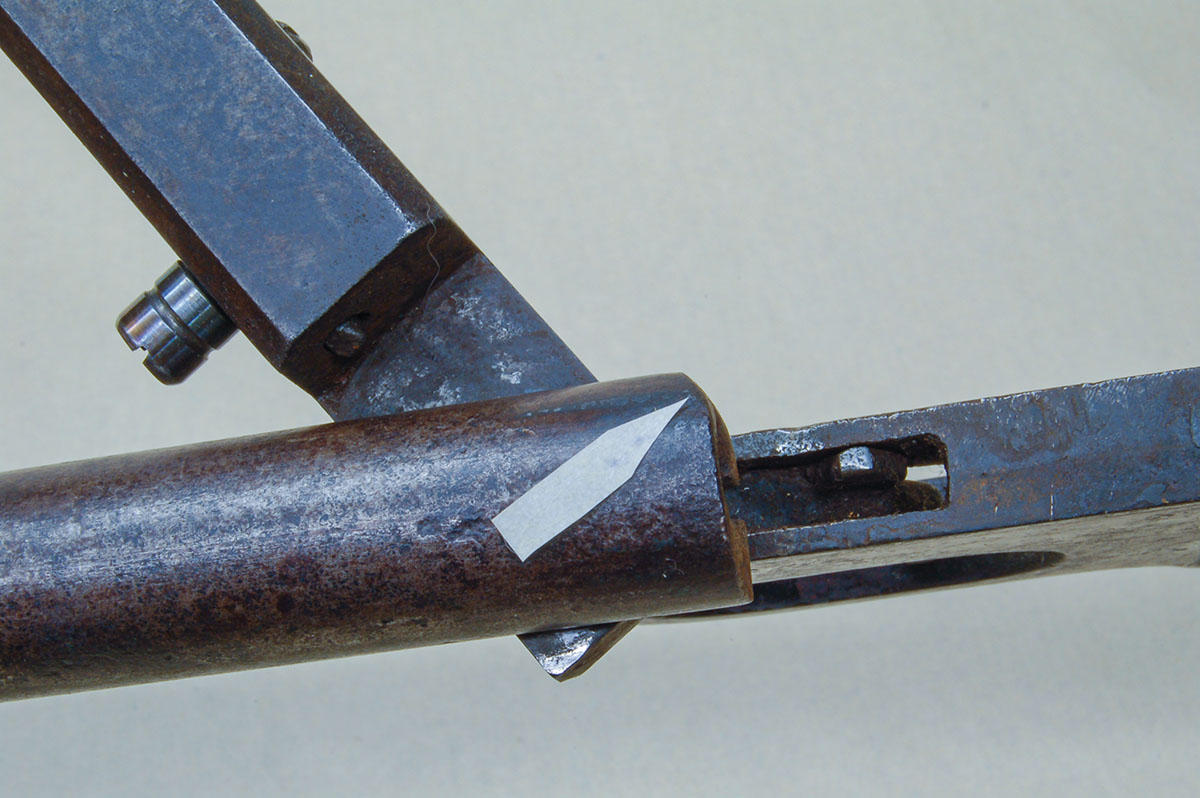
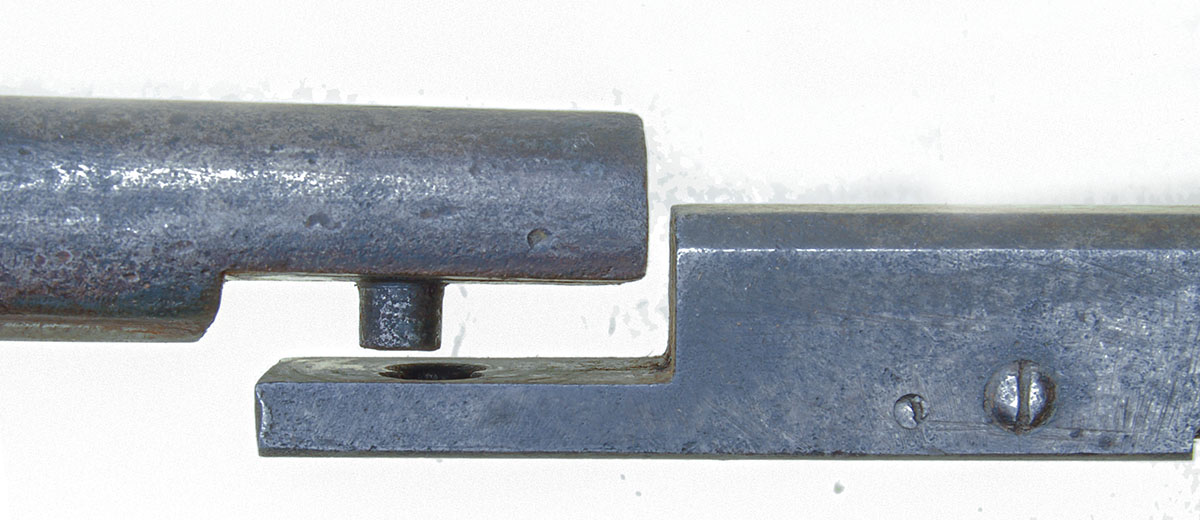
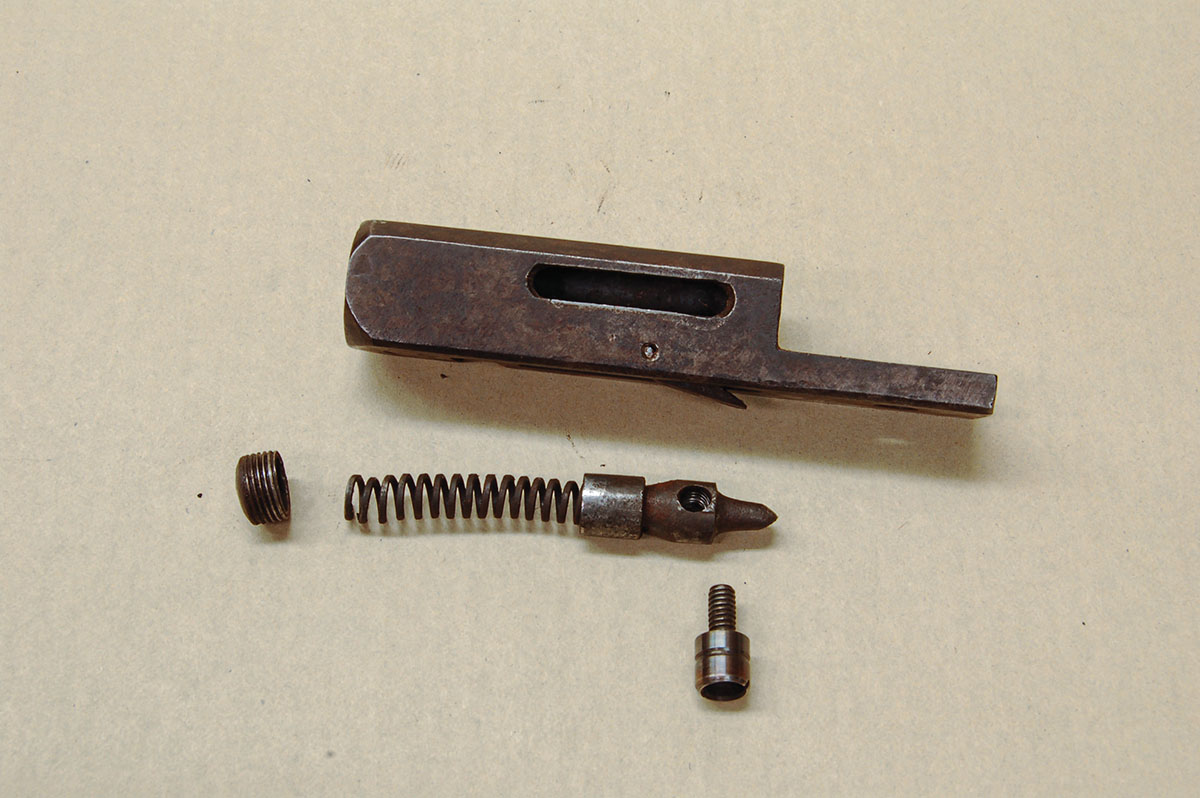
Reliable ignition is of more immediate concern. I have owned three of these rifles over the years and had a few brought in for repair, plus the one shown in the photos. Most suffered from unreliable ignition. The cause of this is the cocking knob. Protruding from the base of the knob is a threaded extension fitting a tapped hole in the firing pin.
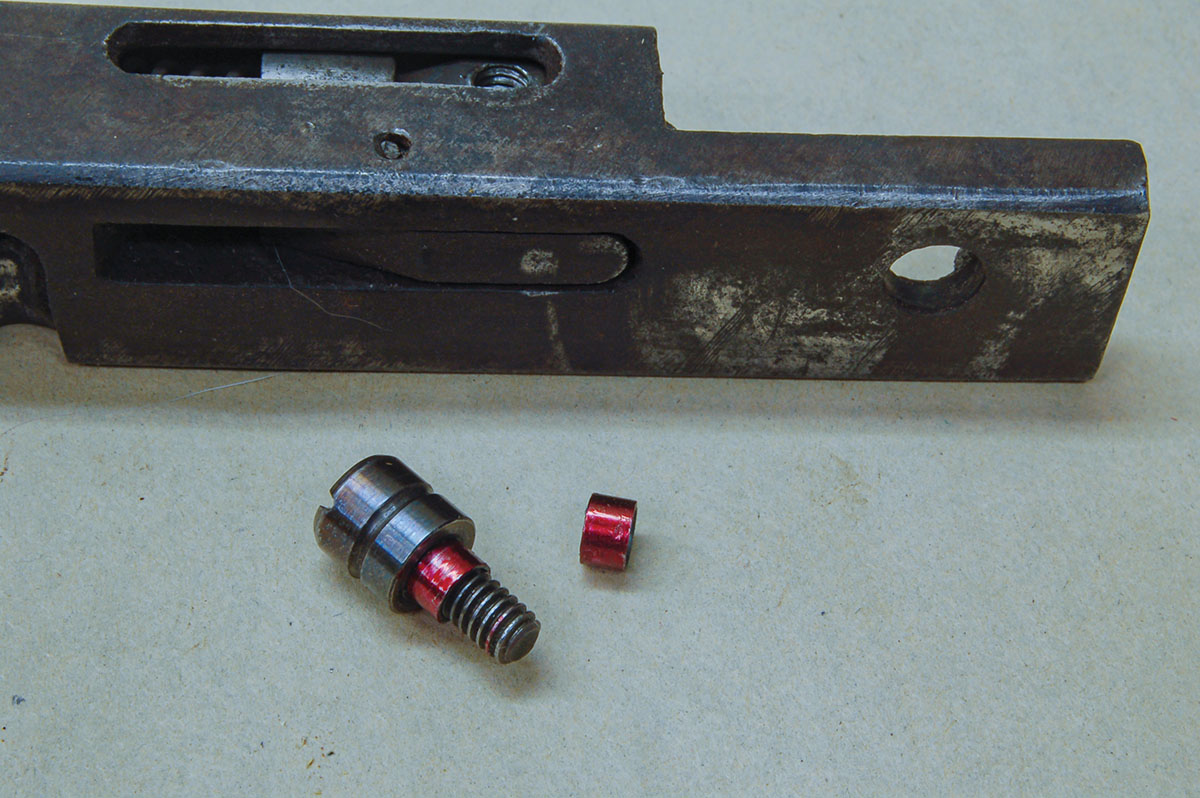
To make the best of the situation, the firing pin recess and the firing pin tip hole in the breech face must be smooth and free of rust. Often the walls of the hole for the firing pin tip would rust enough to hinder firing pin impact if the gun lived in a humid environment and received little care.
The same goes for the outside edges of the firing pin and mainspring, where they touch the breechblock. Regarding that mainspring, replacing it is not a bad idea. The one shown is weak and has little preload (partial compression when installed). Normally this would indicate inferior spring steel or improper heat treatment. Before doing this, however, a defect in the cocking knob design must be corrected.

It doesn’t take much of this before the bottom edge of the cocking knob rubs the side of the breechblock, slowing the firing pin fall, which affects ignition.
Why this condition was allowed on production guns is unknown. Quackenbush should have simply turned a collar or spacer on the threaded shank that was a little taller than the breechblock wall thickness. The cocking knob could then be drawn down tight on the firing pin and not ever touch the breechblock, no matter how many times it worked loose.
The fix here is just to make such a spacer. If a drill rod assortment is available, a common 3⁄16-inch rod is smaller than the slot in the breechblock. Drill a No. 24 (.152-inch) hole in this and tap 8x32 threads per inch (TPI) on the shank of the cocking knob. Note that the drill size is larger than usual for this thread size, but little thread depth is needed. It probably wouldn’t even be necessary to tap it. The thickness should be about .015-inch greater than the breechblock wall (see photo). Put blue Loctite on the cocking knob threads, pull tight, and the problem is solved forever.
Now is the time to replace the mainspring unless shooting shows the spacer solved ignition problems.
These guns are hard to cock in the normal manner. The proper method is to put the thumb on the rear of the breechblock and hook the forefinger over the cocking knob. Now pinch your fingers together. Kids figure this out quickly; adults take longer!
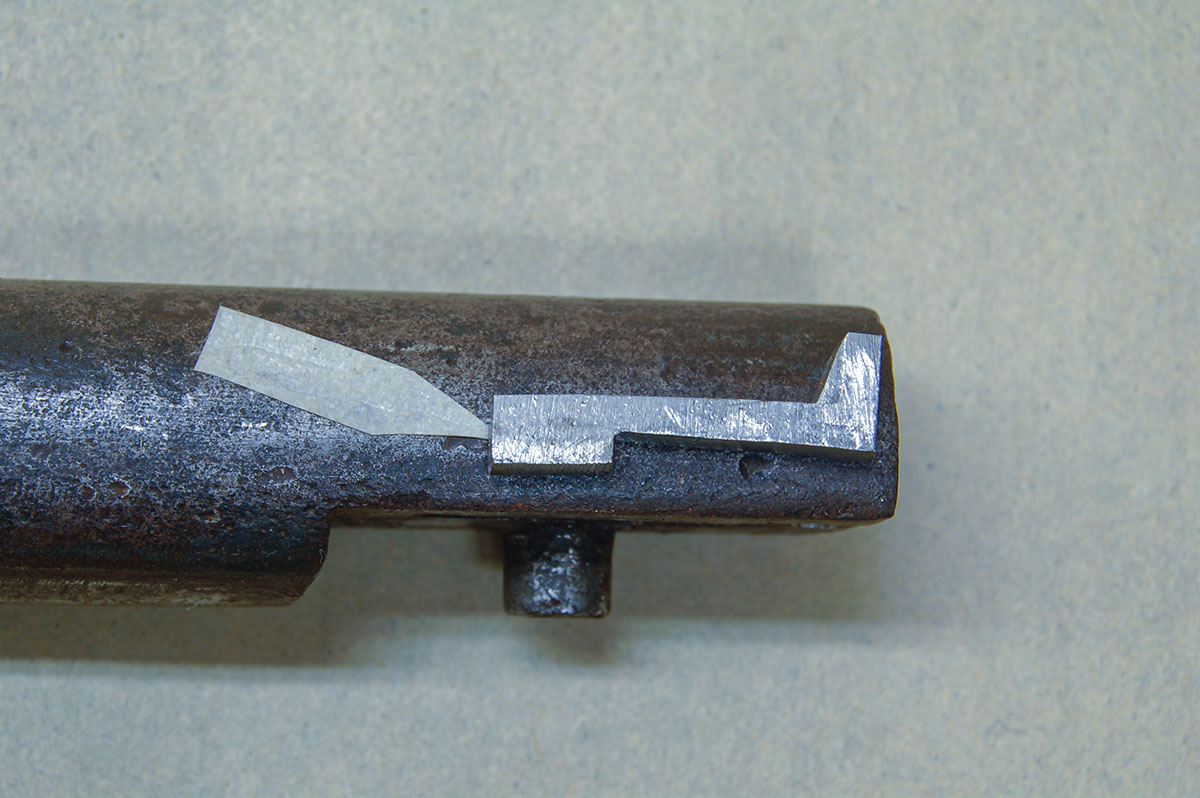
One major problem remains. When the rifle is taken down to clean the bore, the instant the barrel separates from the breechblock, the small extractor falls out. That’s a bit inconvenient. Now where did the thing go? Of the three Quackenbush rifles previously owned and the one in the photos, none came with an extractor. Fortunately, extractors are easy to make.
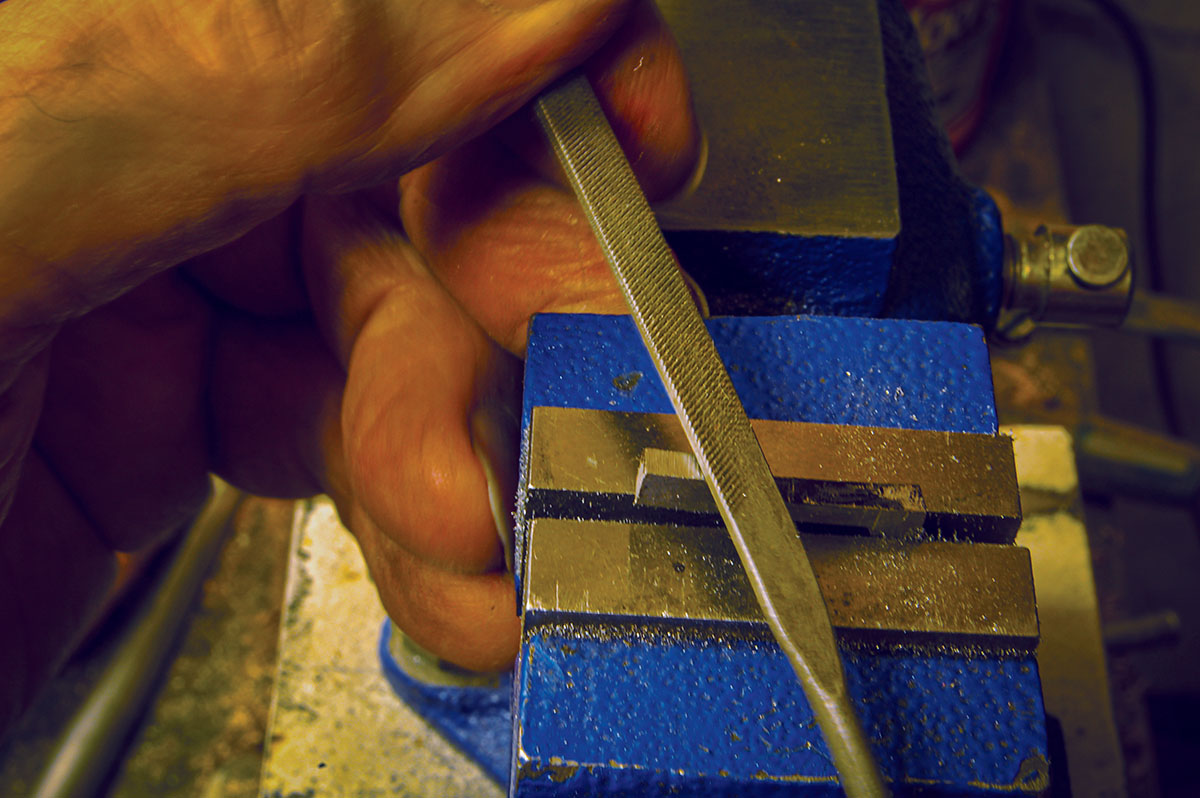
The material is .100-inch-thick mild steel. There is no need for heat-treating or case hardening. There are no specific dimensions; the shape is just filed out to fit the extractor recess in the barrel (see photo). Overall length of the one for this rifle is .850-inch. It might be a good idea to make two while you’re at it.
The Quackenbush Safety Cartridge Rifle provides double the fun of most old .22 rimfire boys rifles. Not only is it an above-average pop can plinker, but it will also require some easy gunsmith work to get back in shooting shape. A win-win situation.


