Light Gunsmithing
Final Notes on Scope Attachment
column By: Gil Sengel | May, 24
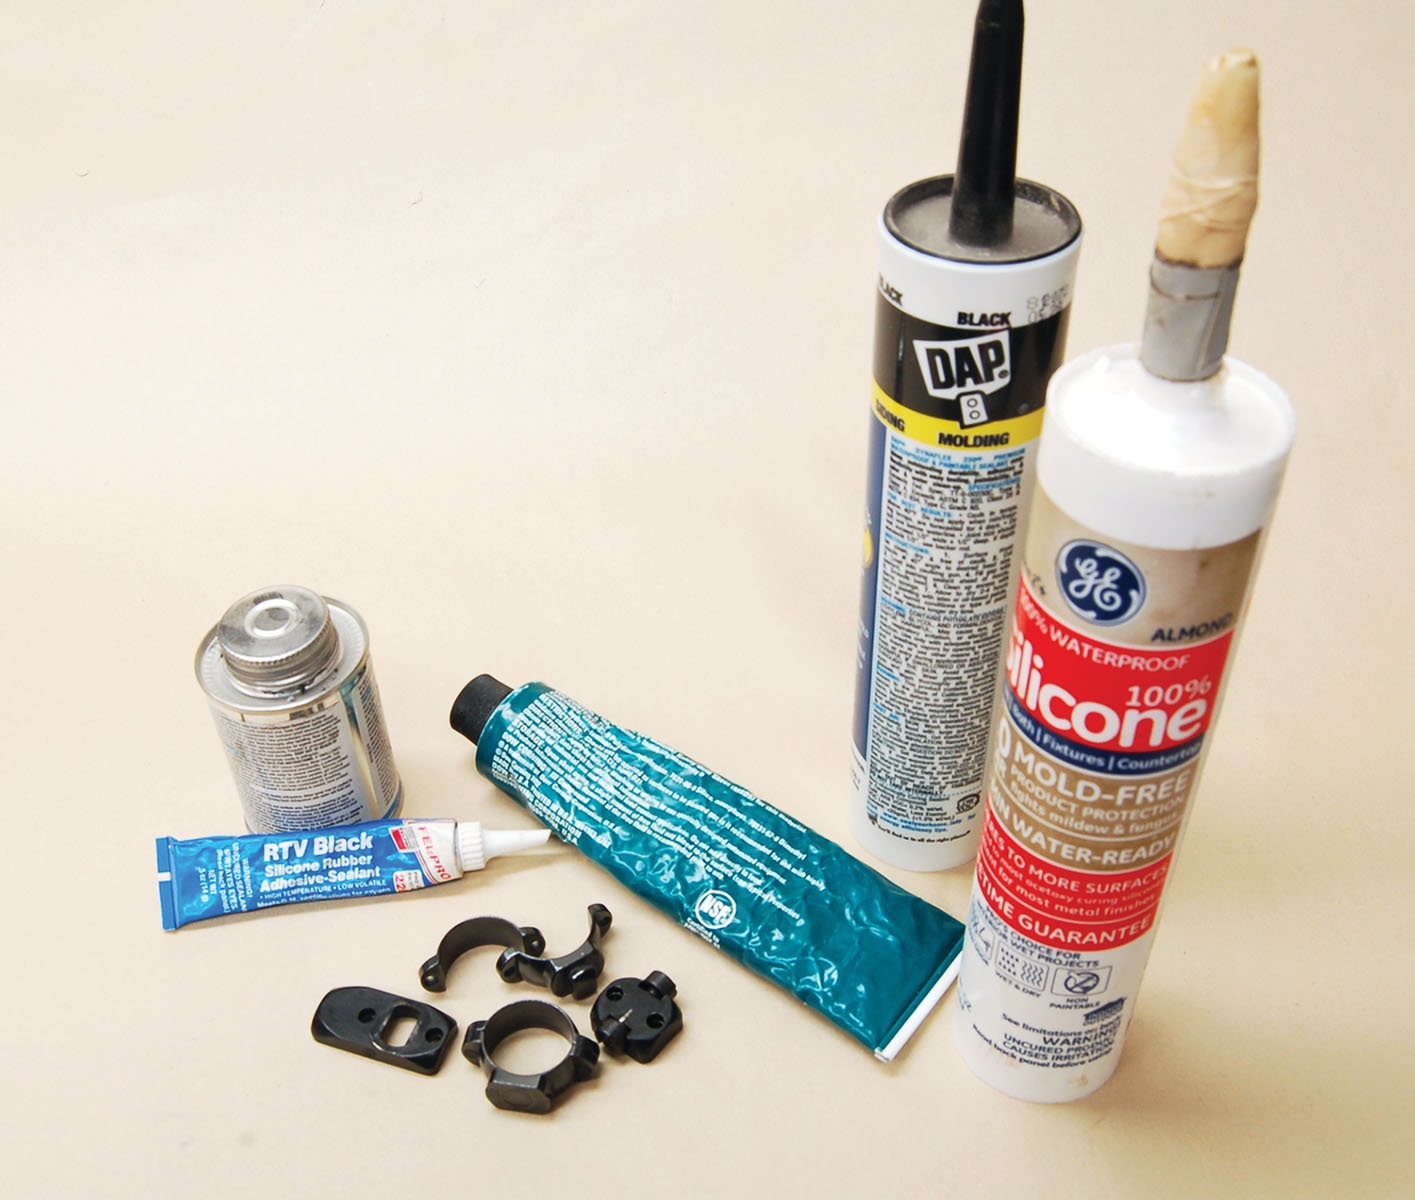
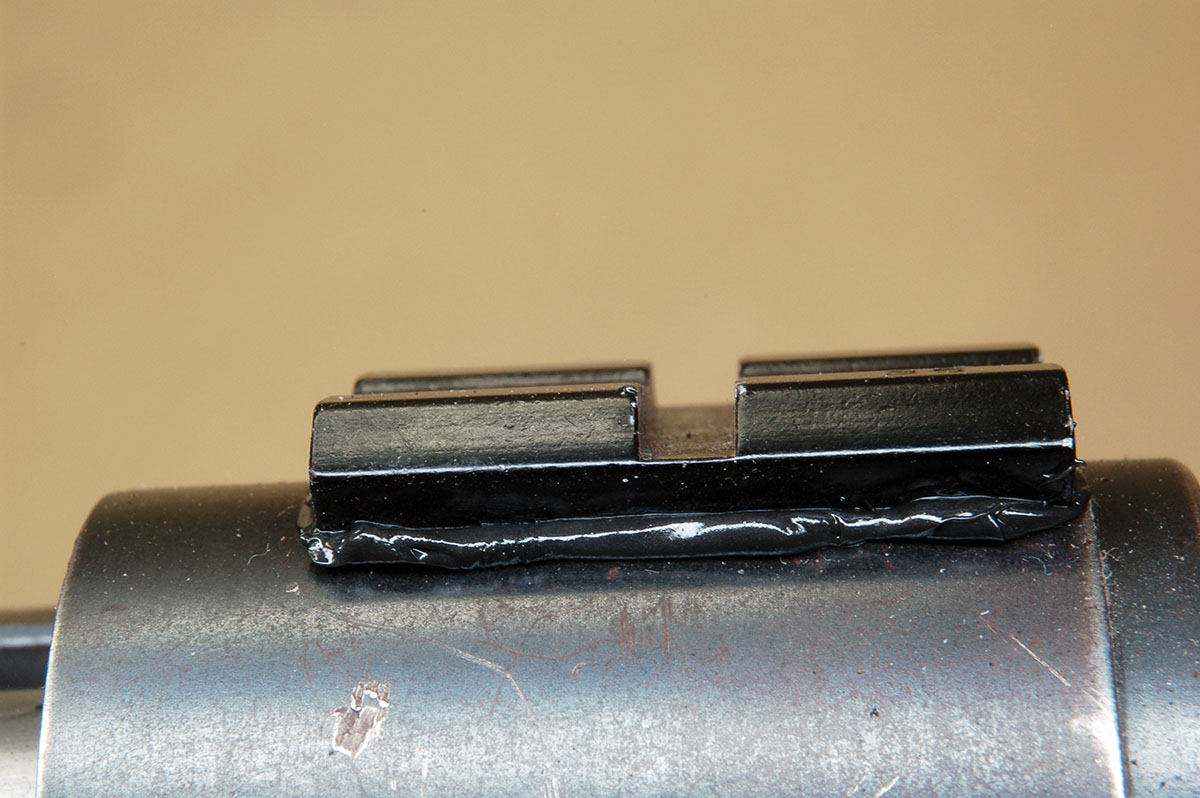
My belief is that any scope-attaching job should be considered permanent, so the previously mentioned surfaces should be sealed to keep moisture out. Of course, this thinking is not unique. Many years ago, weatherstrip adhesive was recommended to fill such gaps. In my experience, the stuff eventually cures nearly rock-hard and shrinks a bit as well. It is also terrible to work with, sticking to everything it touches and is nearly impossible to remove.
Today, silicone adhesive sealants are available. They are quite soft when cured and are even available in black. Just to be certain - have a solvent on hand to remove any excess. Also, put all stocks in another room as that solvent will destroy any wood finish. Many owners have requested such sealing on their hunting rifles over the years. Note, however, that is generally impossible/impractical to seal ring-to-base joints. (Think Weaver, Picatinny, etc.)
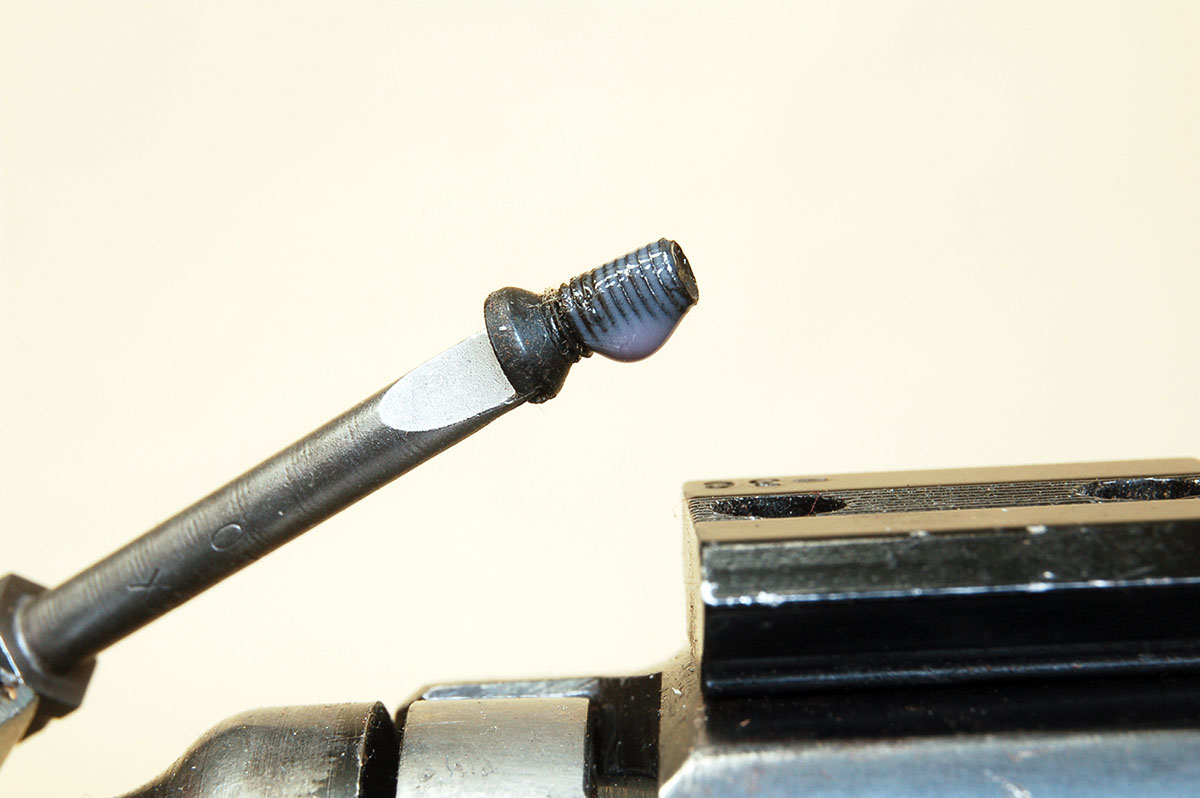
Out of curiosity, attempting to move the bases before touching the screws was then tried. Occasionally, a bit of looseness could be felt. This would seem to be a good advertisement for a
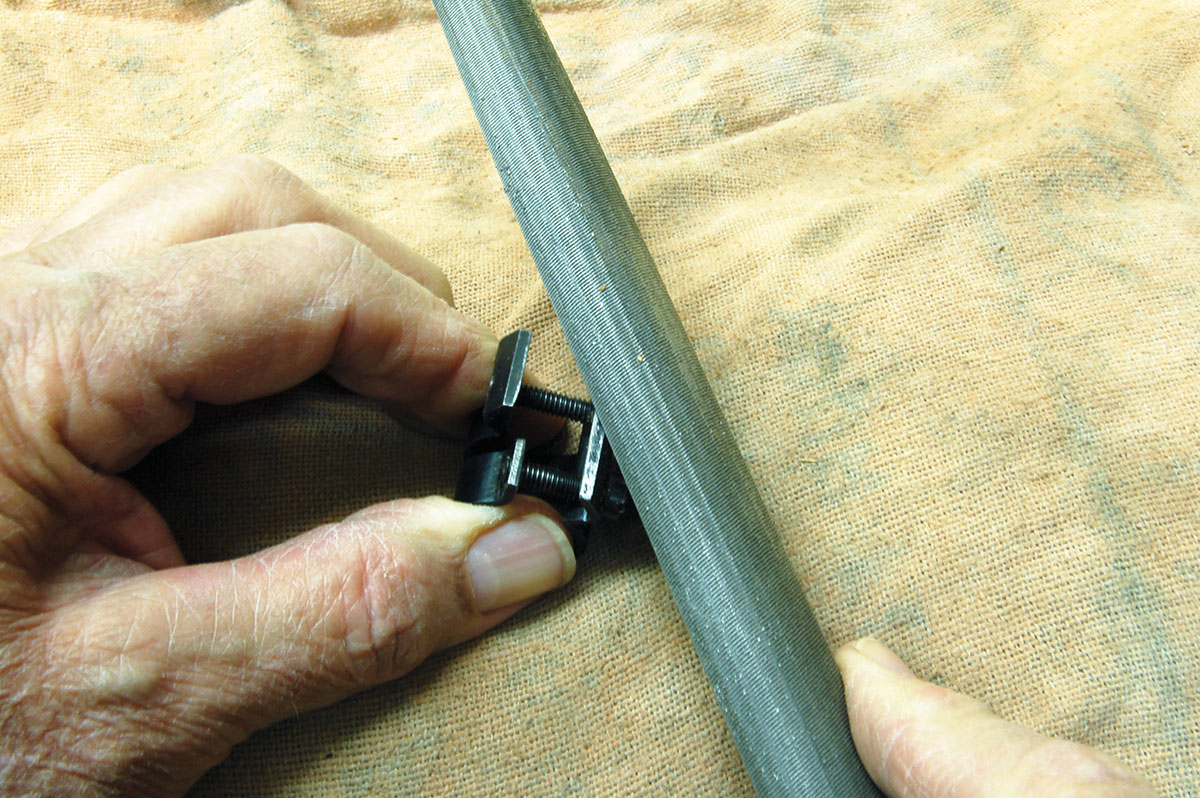
Some will now say the base screws were loose because a torque wrench was not used. Perhaps. My inch-pound torque wrench is an old dial type intended for the precise assembly of gasket plates. My “calibrated hand,” however, tends to pull scope screws a bit tighter than the figures (which vary) thrown about today. Therefore, a thread locker is not used unless the rifle owner wants it. This way, if accuracy falls off, scope screws can be quickly checked, something not possible if a thread locker has been used.
Glass bed, rebed or pillar bed? No. First, test the scope by what is called “shooting the box.” Fire a three-shot group at 100 yards, move the impact 6 inches to the right and fire another group. Now, move and shoot 6 inches down, then left, then up. The final group should be on top of the first. Any problems with the scope innards will be obvious! Usually, only two or three groups are necessary to identify the problem. It makes no difference how much the scope costs!
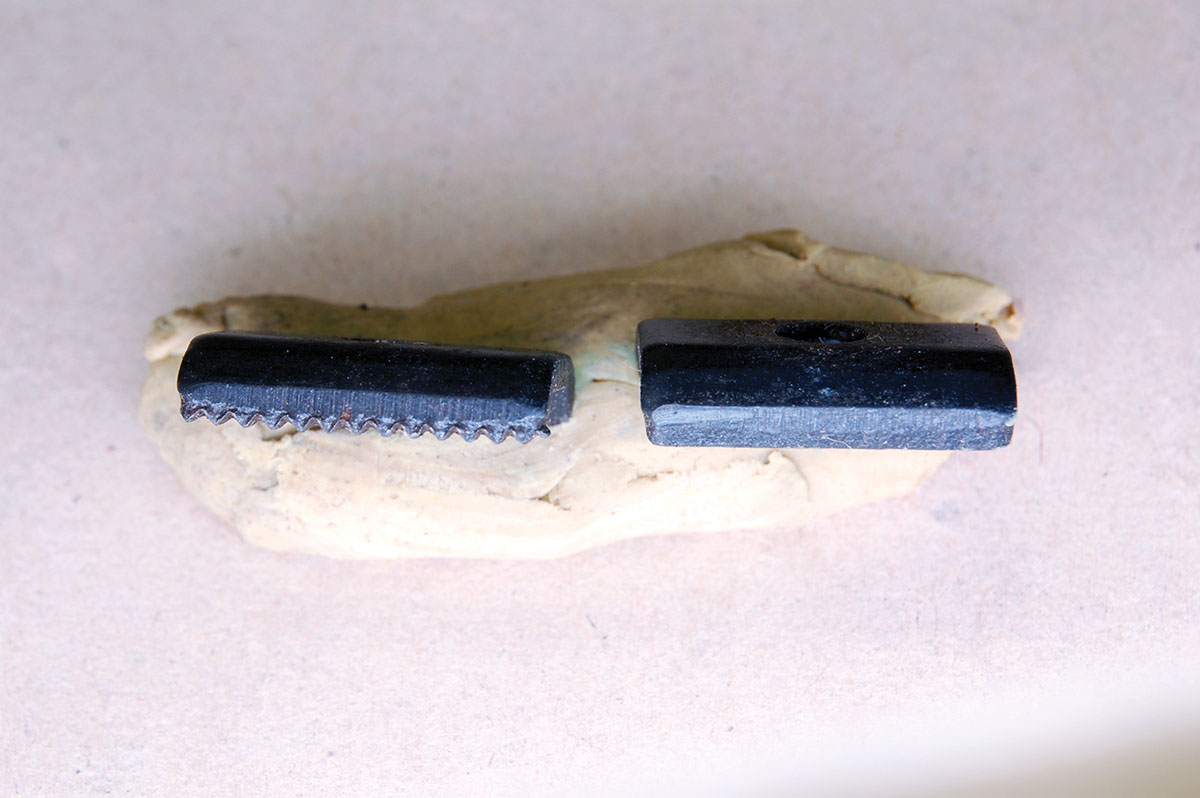
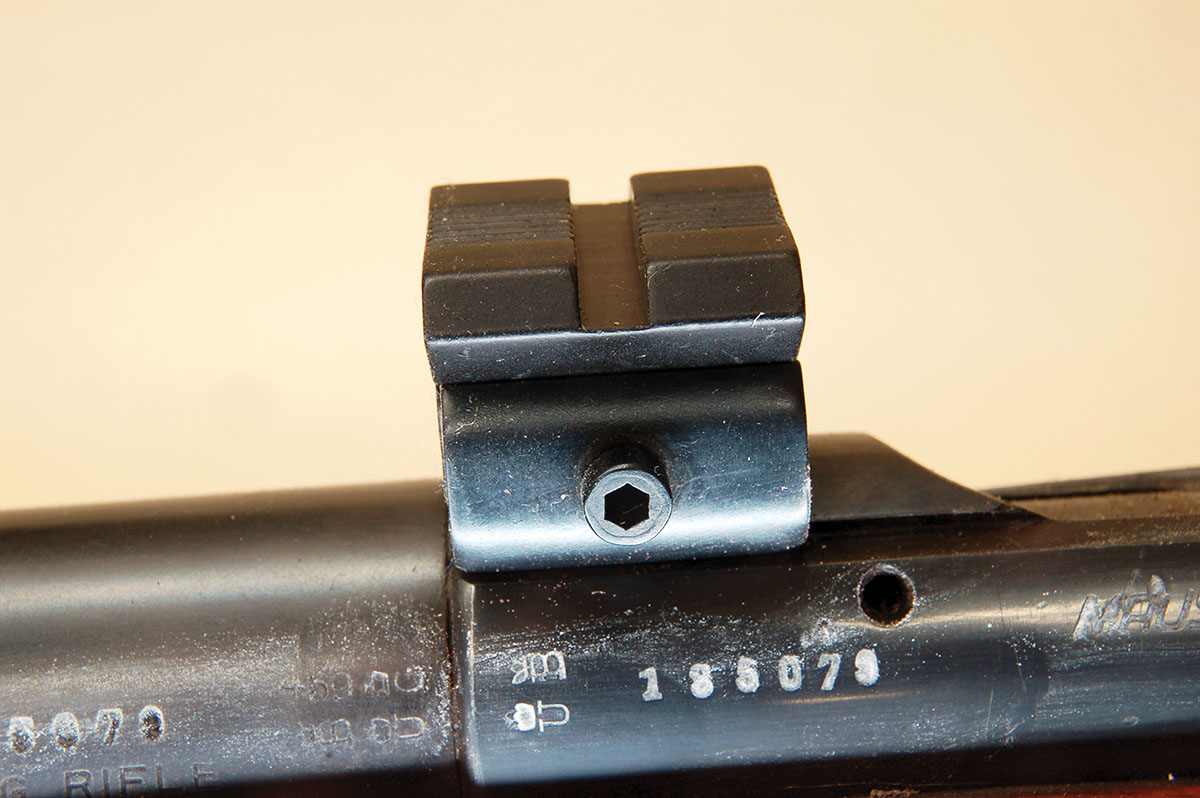
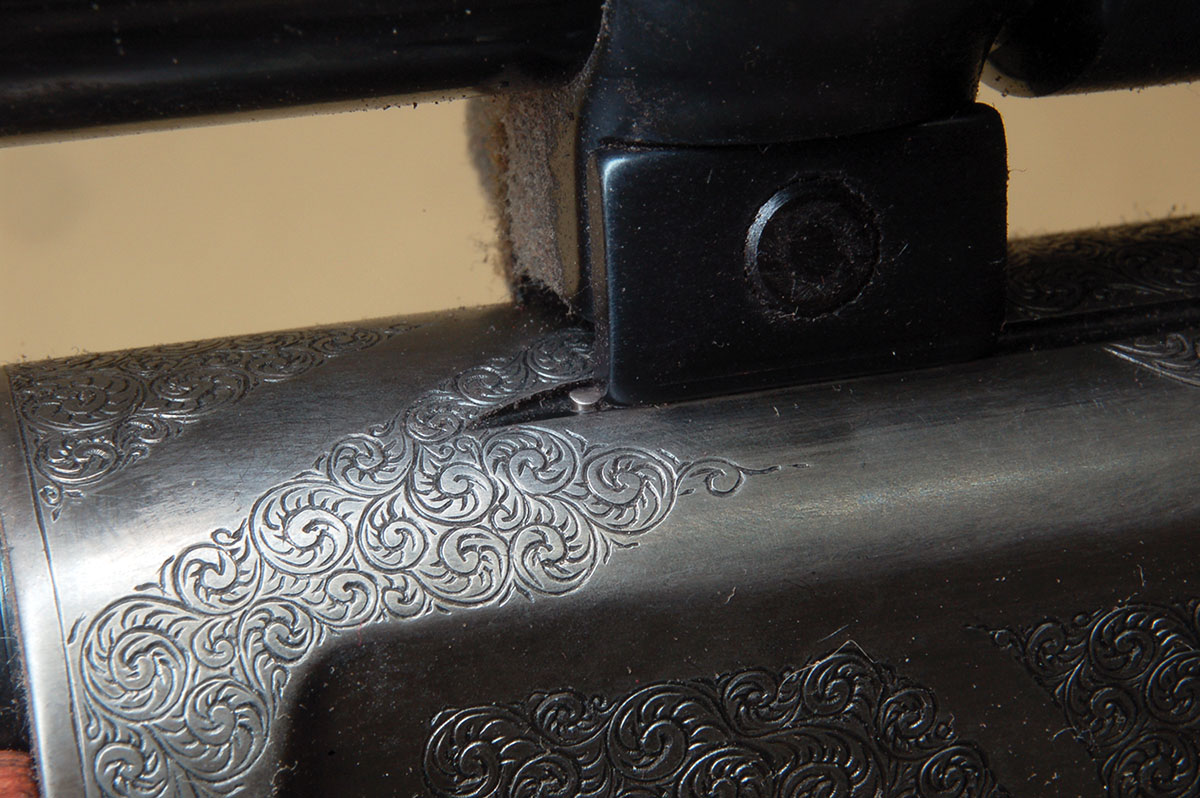
Finally, there is attaching scopes to older rimfire rifles. The W.R. Weaver Company was by far the main producer of inexpensive scopes and mounts for rimfire rifles from 1934 until going out of business in 1984. Early side mounts were stamped sheet metal that may have burrs in the wrong places. When dovetailed receivers appeared, mounts often didn’t fit the dovetails well and gradually slid forward. Weaver recognized the problem and soon serrated one side of the clamp plate (as shown in the photo). However, this leaves an ugly, chewed-up spot if the scope is removed. There is a better way.
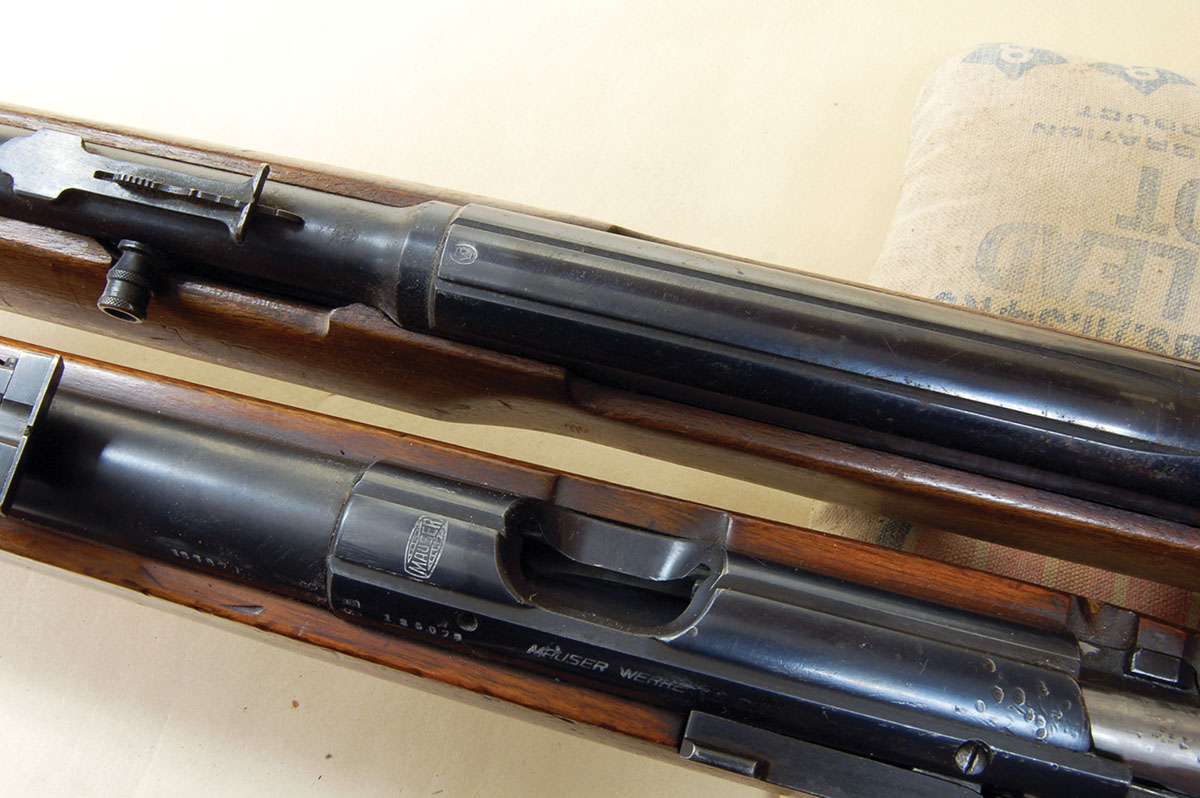
Regarding dovetailed receivers, the American version is .375 inch and the European variety is said to be 11mm or .433 inch. The point is that American rings having a separate clamp plate will fit the wider dovetail even though that will position the scope a bit off the center of the bore. The windage adjustment in the scope will allow for this.
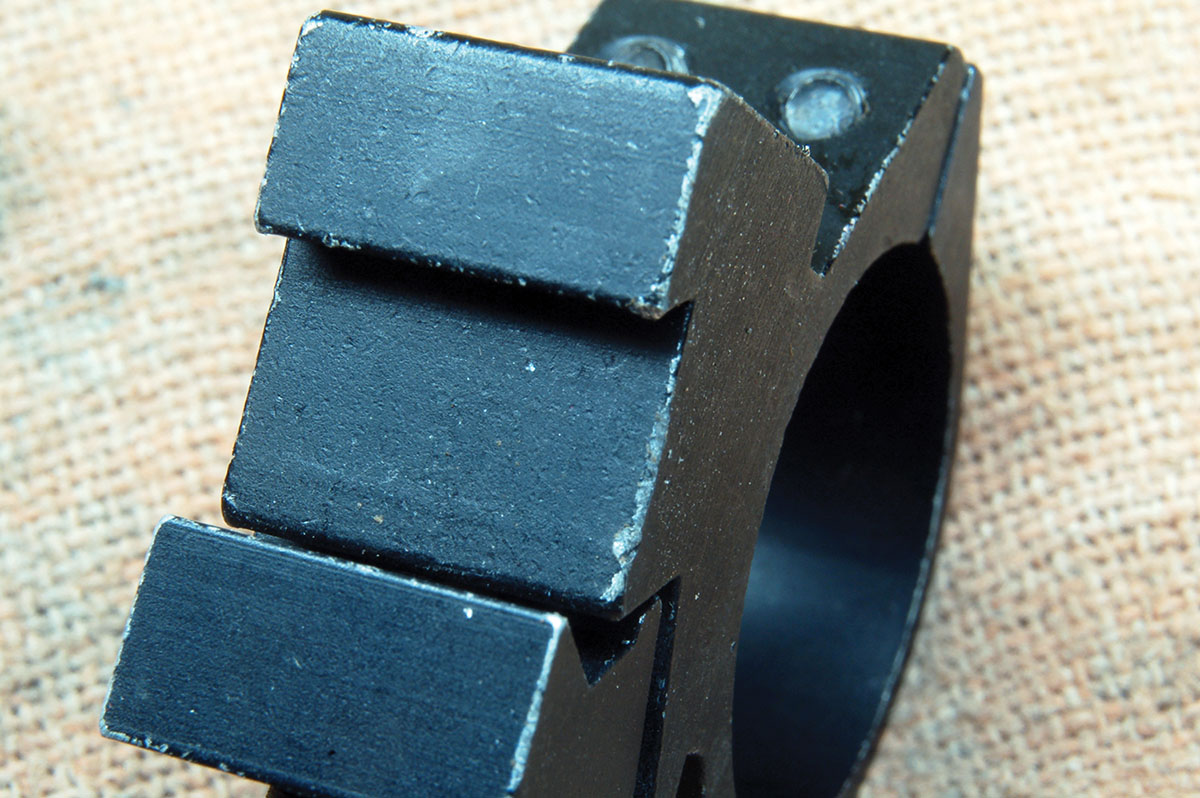
I must also mention scope bases made by an outfit called Kwik-Site. They clamp to a dovetail on the bottom and are shaped like a Weaver base on top. With these clamped to a high-power scope having Weaver rings attached, it can be slid on any rimfire to check accuracy. An existing scope can be slid off and a test scope slid on to check the old scope’s function. Two or more sets belong in every shop! Mine came from Brownells.
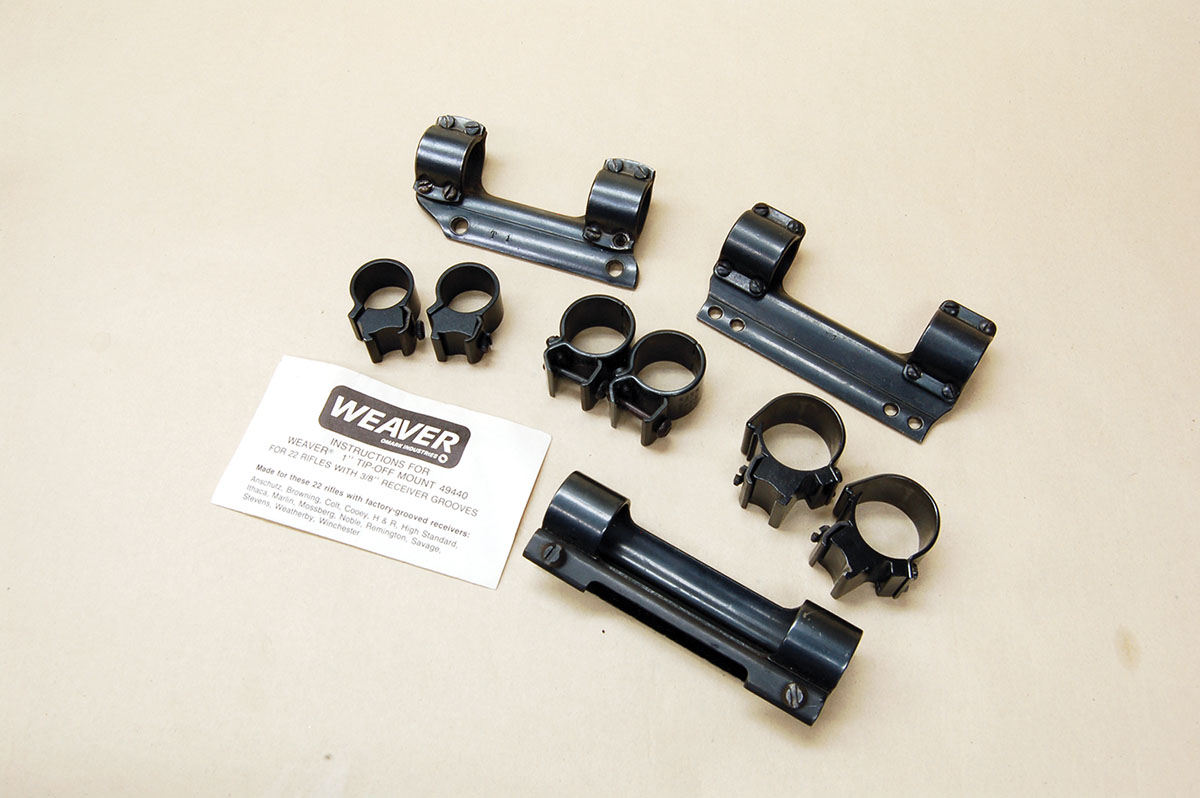
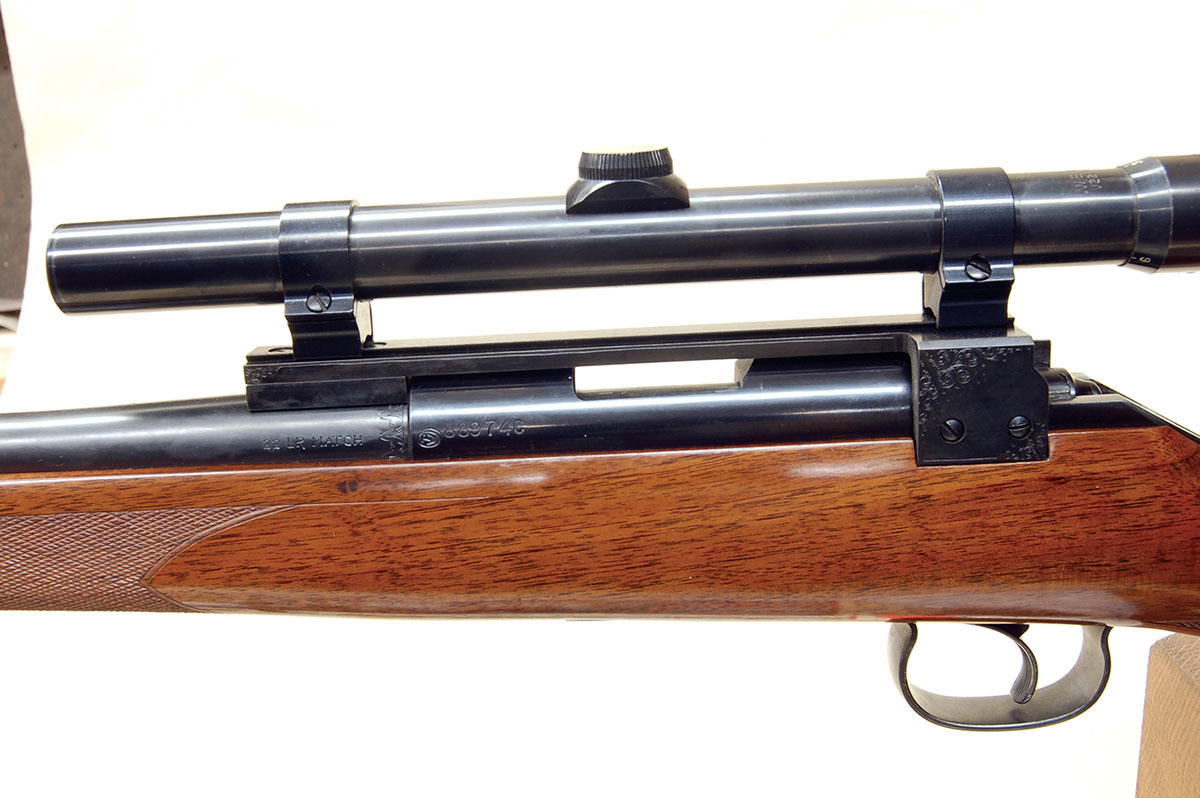
Now, I must quickly cover Weaver 22 rimfire scopes. They were made by the hundreds of thousands. Up to 20 years ago, if a rimfire had a scope attached, it was probably a Weaver.
Of course, these scopes were made to a price point so they could not equal instruments selling for many times more. Tubes were not sealed or nitrogen filled. Over the years, if the owner used the scope in cold weather, then brought it indoors, moisture would condense inside the tube. The adjustment knobs would then stop turning due to rust and it is not repairable.
There is only one other affliction suffered by these scopes and it is repairable: blurriness that can’t be focused out. The cause is a deposit on the interior lens surfaces. It usually takes a glass cleaner to cut it. Screw the eyepiece off the tube, squirt a bit of glass cleaner on a cleaning patch (paper will scratch the lens) and poke it into the eyepiece bell. It may take a few tries to get the lens clean.
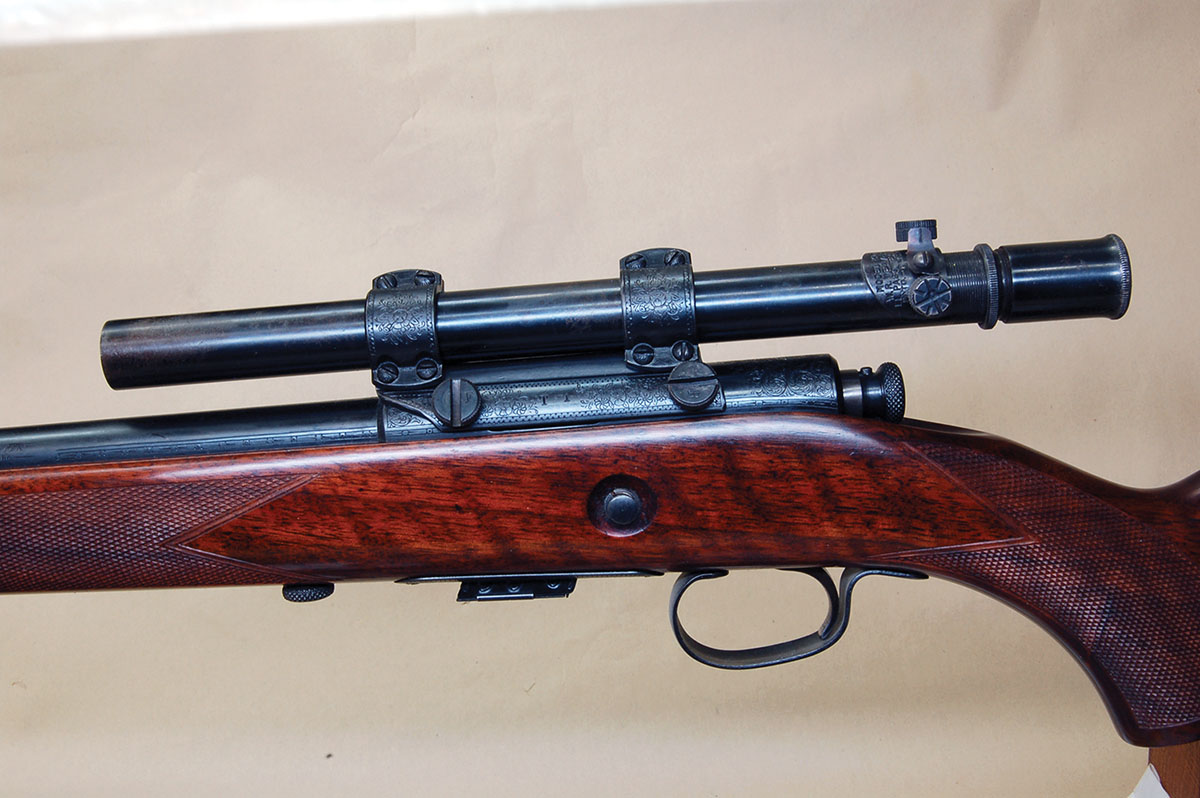
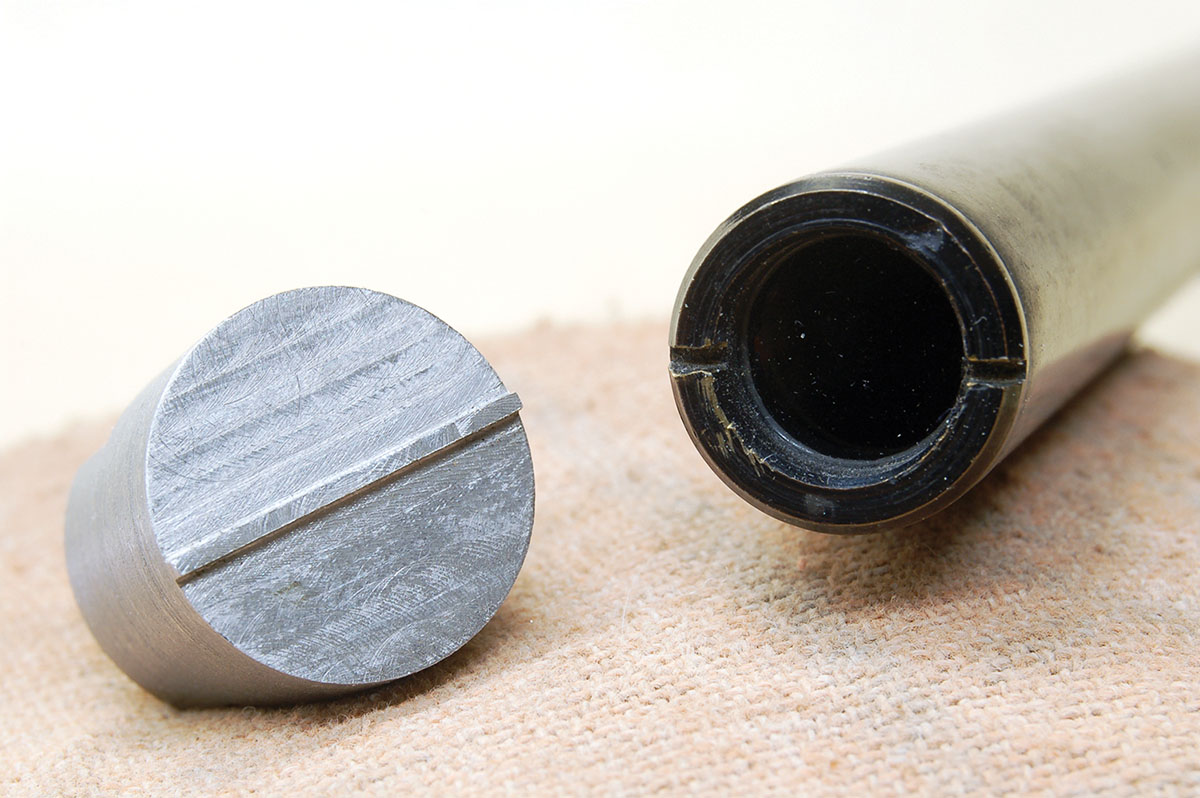
Cleaning the front lens is more difficult as the lens assembly must be removed using a lathe-made, spanner-type tool. Do this only on early scopes having brass retainers, not the later plastic retainers. The newer scopes, however, seem to seldom need inside lens cleaning. Lens assemblies have always come out easily using the tool shown. If one doesn’t, avoid using heat or penetrating oil that will certainly damage the cement (glue) holding the lens in place. Increasing the torque on a properly fitting spanner should do the job unless visible rust is present. The old scopes should really be preserved when properly attached to classic rimfires if at all possible.
This completes a rather lengthy discussion on scope attachment. Hopefully, you found it useful.


